Engine diagnostic troubleshooting focuses on identifying issues with fuel, ignition, or air intake, commonly manifested as a failure to start, stalling, or poor performance.
Key steps include checking for a weak battery, old fuel, or clogged filters, and using an OBD2 scanner for modern vehicles to read check engine codes.
A professional diagnostic, typically taking 30–60 minutes, pinpoints the specific cause beyond just reading codes to prevent expensive, long-term damage.
Engine diagnostic troubleshooting is critical for identifying problems before replacing parts unnecessarily. Symptoms like misfires, rough idle, stalling, and no-start conditions often have multiple possible causes.
This category provides step-by-step diagnostic methods used to identify engine problems accurately. Instead of guessing, you’ll know how to test, verify, and fix issues efficiently.
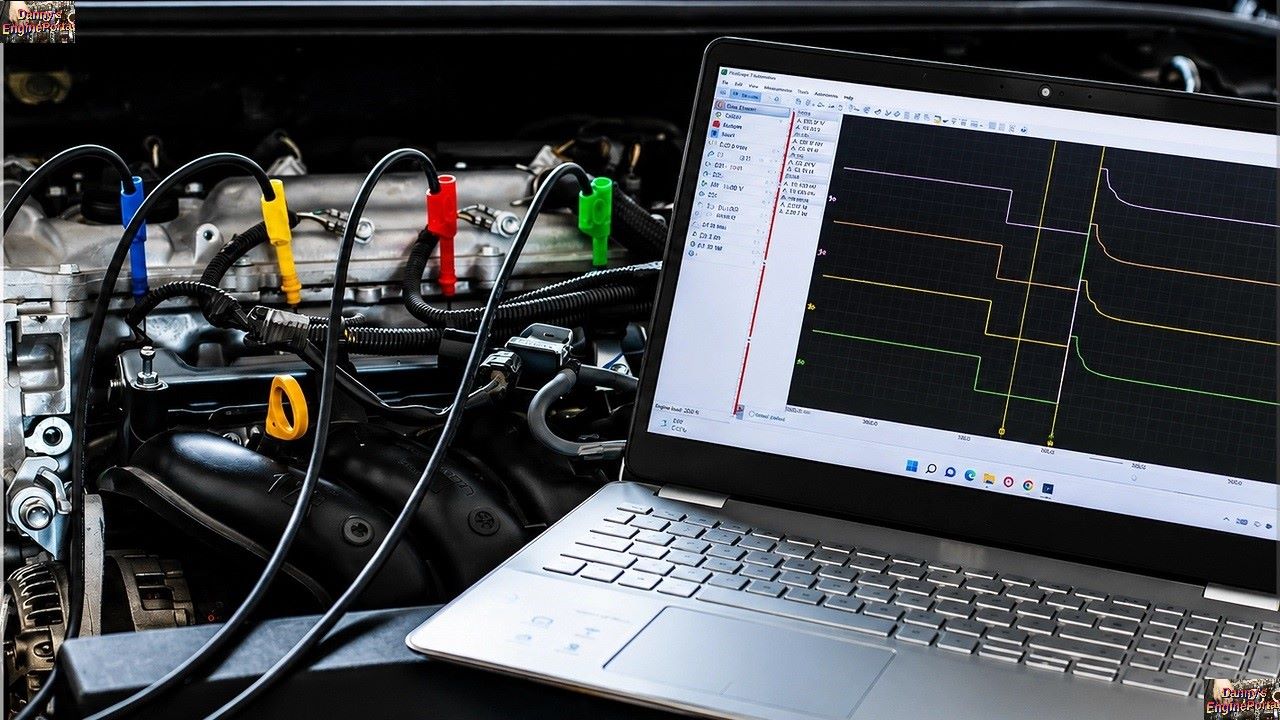
Engine Diagnostic Troubleshooting
Engine diagnostics is the process of identifying and fixing issues in your vehicle by reading trouble codes, performing mechanical tests, and isolating sensor or hardware failures. Most modern vehicle repairs rely on the standardized On-Board Diagnostics II (OBD-II) system built into all cars since 1996.
Step 1, Read the Trouble Codes
When a dashboard warning light (such as the Check Engine Light) turns on, the vehicle’s computer logs a Diagnostic Trouble Code (DTC). Connect an OBD-II scanner to the diagnostic port beneath the steering wheel. Read the 5-character code. For example, a code starting with \(P\) (Powertrain) like \(P0300\) indicates a random cylinder misfire. Reference your codes on platforms like the Kelley Blue Book OBD-II Code List to narrow down the problem.
Step 2, Conduct a Visual and Auditory Inspection
Sometimes the root cause is a simple physical disconnection rather than a failed electronic sensor.
Look: Inspect all fluid levels (oil, coolant, transmission fluid). Look for signs of leakage, disconnected vacuum hoses, or frayed wires. Ensure your gas cap is on tightly.
Listen: Is there a hissing sound? This can indicate a vacuum leak. A ticking sound might mean a valve issue or low oil pressure. A harsh knocking sound often points to poor combustion or worn internal bearings.
Step 3, Mechanical and Electrical Testing
If scanning and basic visual checks do not resolve the issue, advanced diagnostic steps may be needed.
Battery Check: Use a multimeter to verify your charging system. The battery should read at least \(12.5\) V to \(12.6\) V when the engine is off, and over \(13\) V when running.
Spark & Ignition: Test ignition coils and spark plugs to ensure a strong spark is firing when it’s supposed to.
Compression/Leak-down: If you suspect an internal engine breathing or valve issue, a mechanic will perform a manual compression test.
Related Posts
- Automatic Shutdown (ASD) Relay: Function – Failure – Testing
- Car Battery – Know What Can Go Wrong, Before You Disconnect It
- Engine Cranks But Fails to Start: Causes and Solutions
- Engine Cranks But No Start – Ignition, Fuel, Compression Are Good
- Engine Misfire: Causes, Symptoms, Diagnosis & Fixes
- Engine Stalling – Proper Troubleshooting And Maintenance
- Engine Stalling Issues – Now You Question Your Vehicle’s Reliability
- Engine Surging: Causes and Solutions
- Engine Troubleshooting – Common Problems With Solutions
- Engine Turns Over: Troubleshooting a No Start Condition
- Engine Will Not Start, But Fuel, Spark And Compression Are Good
- Engine Won’t Start: Causes, Diagnosis & Fixes
- Fuel Pump Related No Start Problems – What Should You Check
- Hard Starting Engine: Cold, Hot, Both or Just After Refueling
- High Engine Idle: Causes, Diagnosis, and Solutions
- Honda OBD1 Codes: How to Read Check Engine Light Without a Scanner
- Idle Air Control Valve (IAC), Function, Failure Symptoms – Testing
- Intermittent Temperature Related Engine Problems, Where To Start
- Low Oil Pressure: Troubleshooting, Actually Starts At The Dipstick
- Mechanical Engine Misfires – What Are They – How To Find Them
- Push Button Start Troubleshooting: Why Won’t the Engine Crank?
- Rough Engine Idle and Misfires When Cold: GM V8 Engines
- Rough Engine Idle: Common Causes, With Possible Solutions
- Starter Motor Problems (Symptoms, Causes & Diagnosis)