Modern engines use multiple electronic sensors to control ignition timing, fuel delivery, and emissions.
One of the most important of these is the crankshaft position sensor, commonly called the CKP sensor.
The CKP sensor monitors crankshaft speed and position and sends this information to the engine control module ECM. The ECM uses this data to control ignition timing and fuel injection timing with precise accuracy.
Failing crankshaft position sensor symptoms include an unstable signal. So the engine may run poorly, stall unexpectedly, or fail to start entirely.
Common symptoms include hard starting, misfires, rough idle, hesitation, poor acceleration, and intermittent stalling. In many cases, the issue can be confirmed with basic diagnostic tools.
What Does A Crankshaft Position Sensor Do?
The crankshaft position sensor tracks:
- Crankshaft rotational speed (RPM)
- Exact crankshaft position
- Piston position during combustion cycles
The ECM uses this information to:
- Control ignition timing
- Control fuel injector timing
- Detect engine misfires
- Synchronize crankshaft and camshaft operation
Without a valid CKP signal, the ECM cannot correctly time spark or fuel delivery. In many engines, a complete failure will prevent the engine from starting.
Quick Diagnosis: Common Crankshaft Position Sensor Symptoms
A failing crankshaft position sensor can cause different symptoms depending on how it fails.
| Symptom | What It Usually Means |
|---|---|
| Engine cranks but won’t start | No CKP signal |
| Intermittent stalling | Heat-related sensor failure |
| Rough idle | Incorrect RPM or timing signal |
| Misfires | Loss of ignition timing accuracy |
| Poor acceleration | Weak or unstable signal |
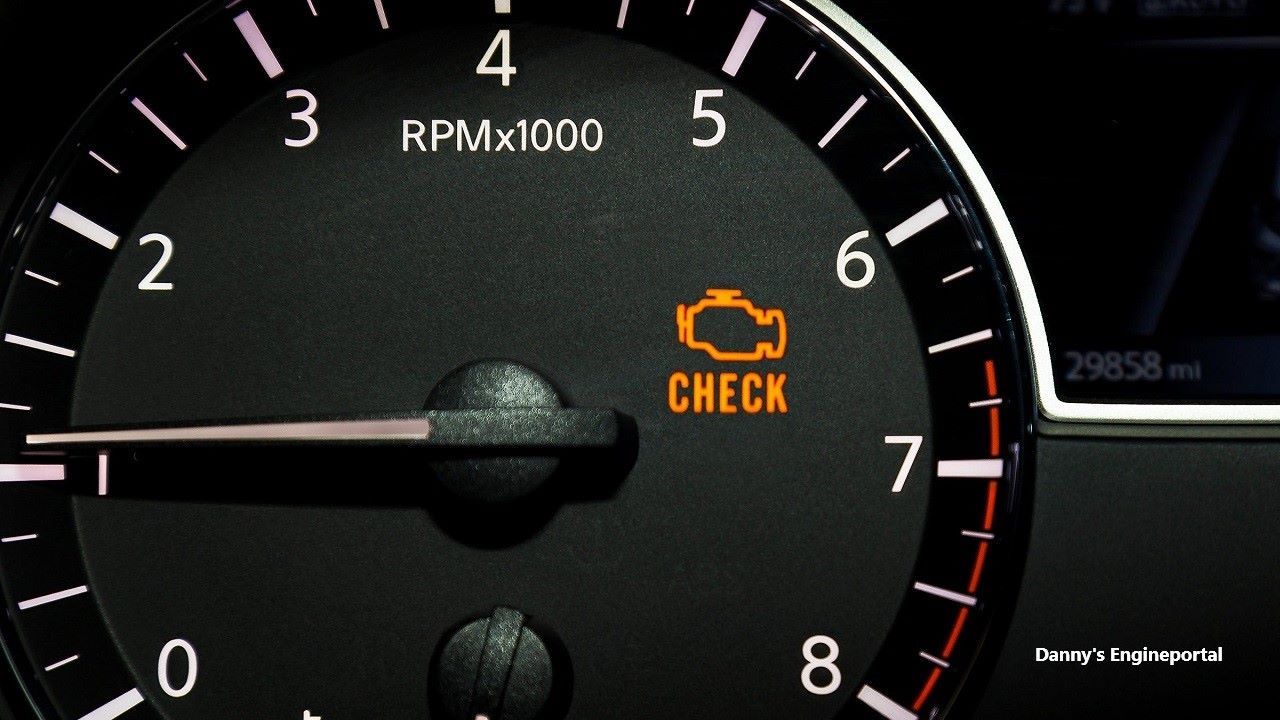
| Check engine light | CKP-related fault code |
| Tachometer drops to zero | RPM signal loss |
Where Is The Crankshaft Position Sensor Located?
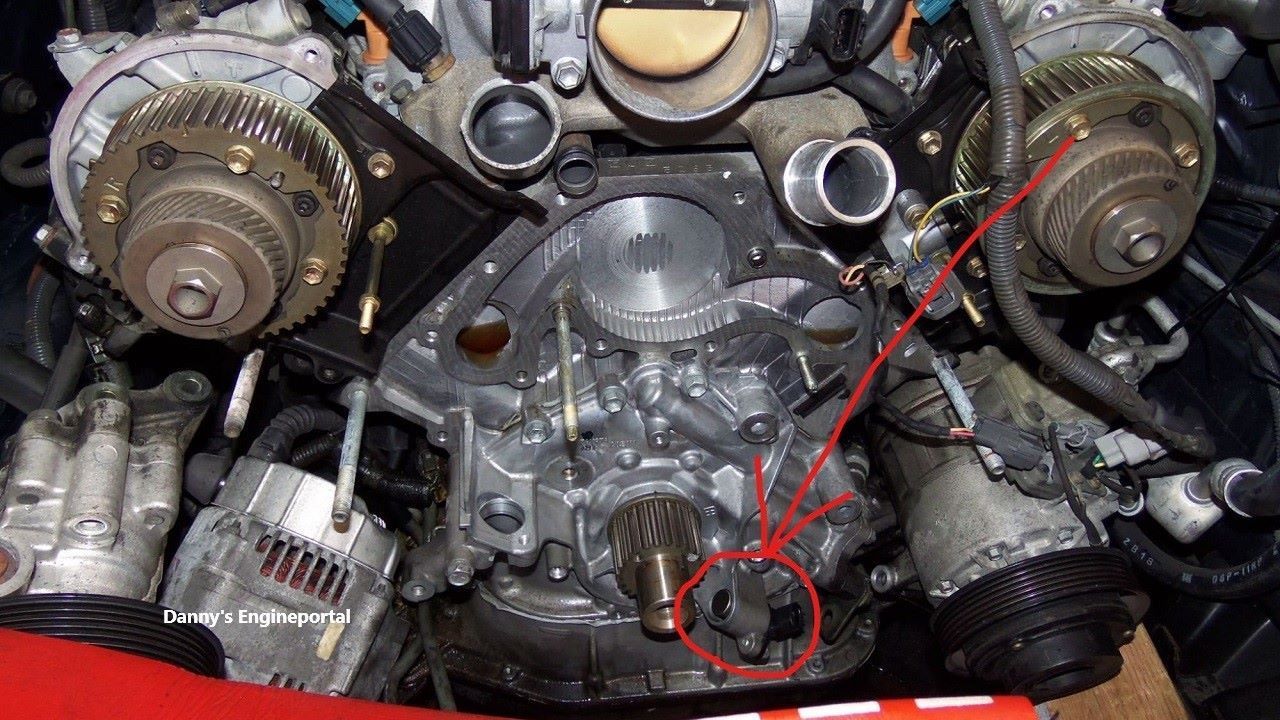
The CKP sensor is installed so it can directly read crankshaft movement. Common locations include:
- Near the harmonic balancer
- Behind the crankshaft pulley
- Near the flywheel or flexplate
- At the rear of the engine block
- Near the transmission bell housing
Location varies widely by engine design, so service information should always be checked.
How A Crankshaft Position Sensor Works
Most systems use a reluctor wheel (tone ring) attached to the crankshaft. As the crankshaft rotates, the teeth on the reluctor wheel pass the sensor and generate a signal.
The ECM interprets this signal to determine:
- Engine speed
- Crankshaft position
- Ignition and injection timing
Types Of CKP Sensors
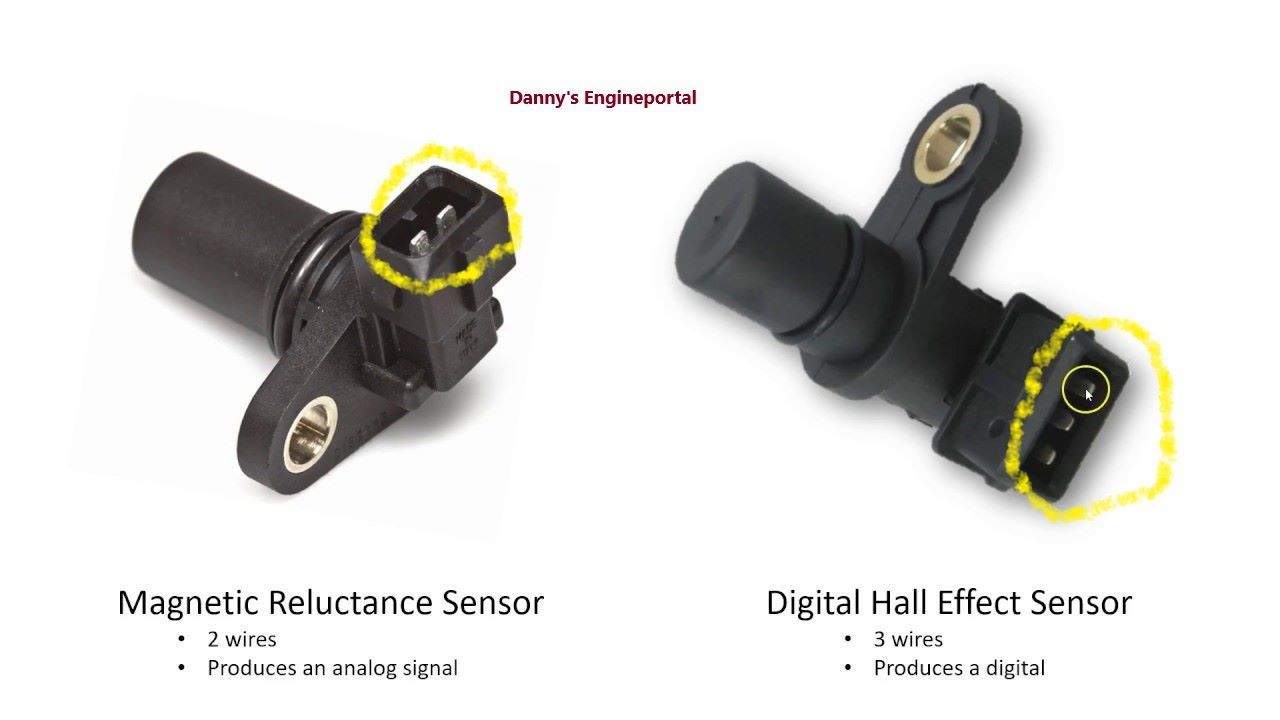
Magnetic (2-wire) sensors
These sensors generate their own AC voltage signal.
- Two wires
- No external power required
- Produces AC voltage signal
- Common in older systems
Hall-effect (3-wire) sensors
These produce a digital square-wave signal.
- Power, ground, signal wires
- Requires external voltage supply
- More accurate signal output
- Common in modern vehicles
Bad Crankshaft Position Sensor Symptoms
1. Engine Cranks But Won’t Start
A complete loss of CKP signal prevents the ECM from triggering spark or fuel injection.
The engine may crank normally, but:
- No spark is produced
- Injectors may not pulse
- Timing cannot be calculated
2. Intermittent Stalling
Heat is a common failure factor for intermittent problems. A sensor may work cold but fail when hot.
Typical behavior:
- Engine shuts off while driving
- Restarts after cooling down
- Random shutdown events
3. Rough Idle
Incorrect crankshaft position data disrupts idle timing control.
This can cause:
- Engine vibration
- Unstable RPM
- Rough idle quality
4. Engine Misfires
Loss of timing accuracy can cause ignition misfires.
Symptoms include:
- Hesitation
- Jerking under load
- Random misfire codes
- Reduced performance
5. Poor Acceleration
Weak or unstable signals reduce engine responsiveness.
Drivers may notice:
- Delayed throttle response
- Lack of power
- Hesitation during acceleration
6. Check Engine Light
Common CKP-related codes include:
- P0335 – CKP Circuit
- P0336 – Performance Issue
- P0337 – Low Input
- P0338 – High Input
- P0339 – Intermittent Signal
Intermittent failures may not immediately set a code.
7. Tachometer Issues
Some vehicles rely on CKP data for RPM display.
Symptoms:
- Tach drops to zero
- Erratic RPM readings
- Gauge instability during stalling
Common Causes Of CKP Failure
Heat Damage
High engine temperatures can degrade internal electronics over time.
Wiring Problems (Very Common)
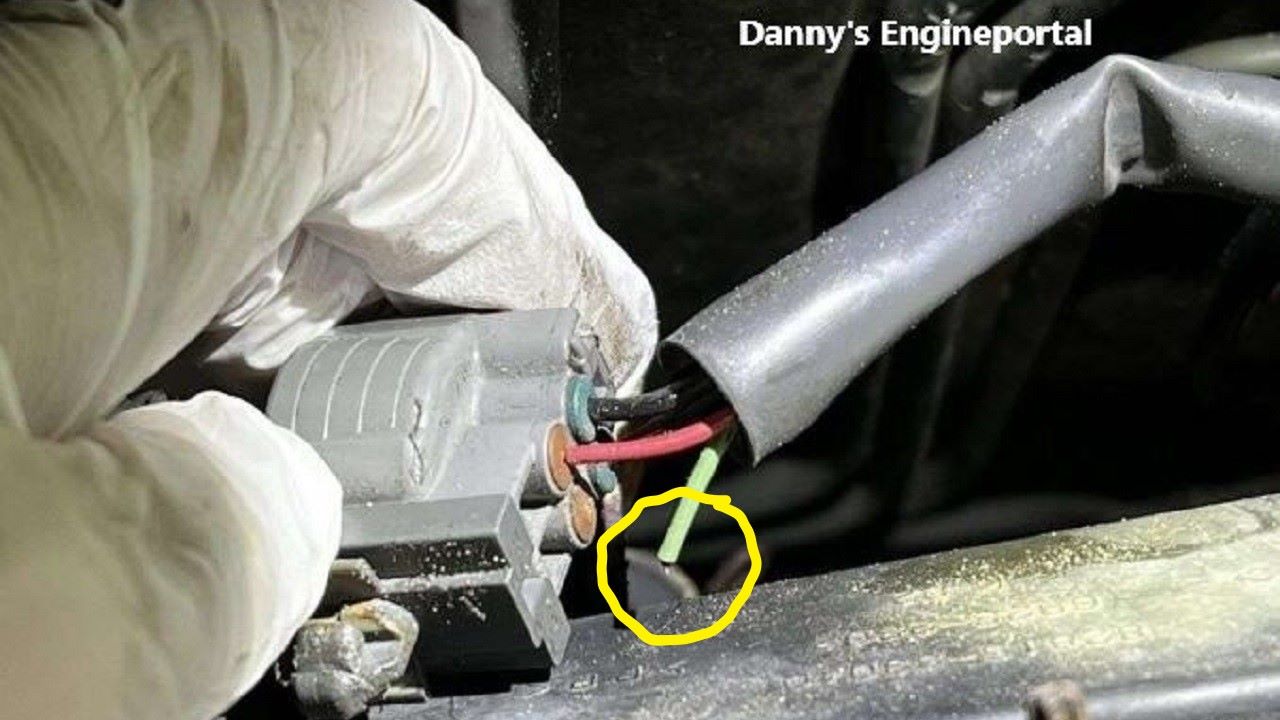
Check for:
- Broken wires
- Corrosion
- Loose terminals
- Oil contamination
- Damaged insulation
Oil Contamination
Oil leaks can affect connectors and wiring integrity.
Metal Debris (Magnetic sensors)
Metal particles can interfere with signal generation.
Damaged Reluctor Wheel
Missing or damaged teeth can cause:
- Misfires
- Timing errors
- No-start conditions
- Erratic signals
How To Test A Crankshaft Position Sensor
Step 1: Scan For Codes
Check for:
- CKP fault codes
- Misfire codes
- Cam/crank correlation codes
Step 2: Inspect Wiring
Look for damage or corrosion at:
- Connector pins
- Harness wiring
- Sensor body
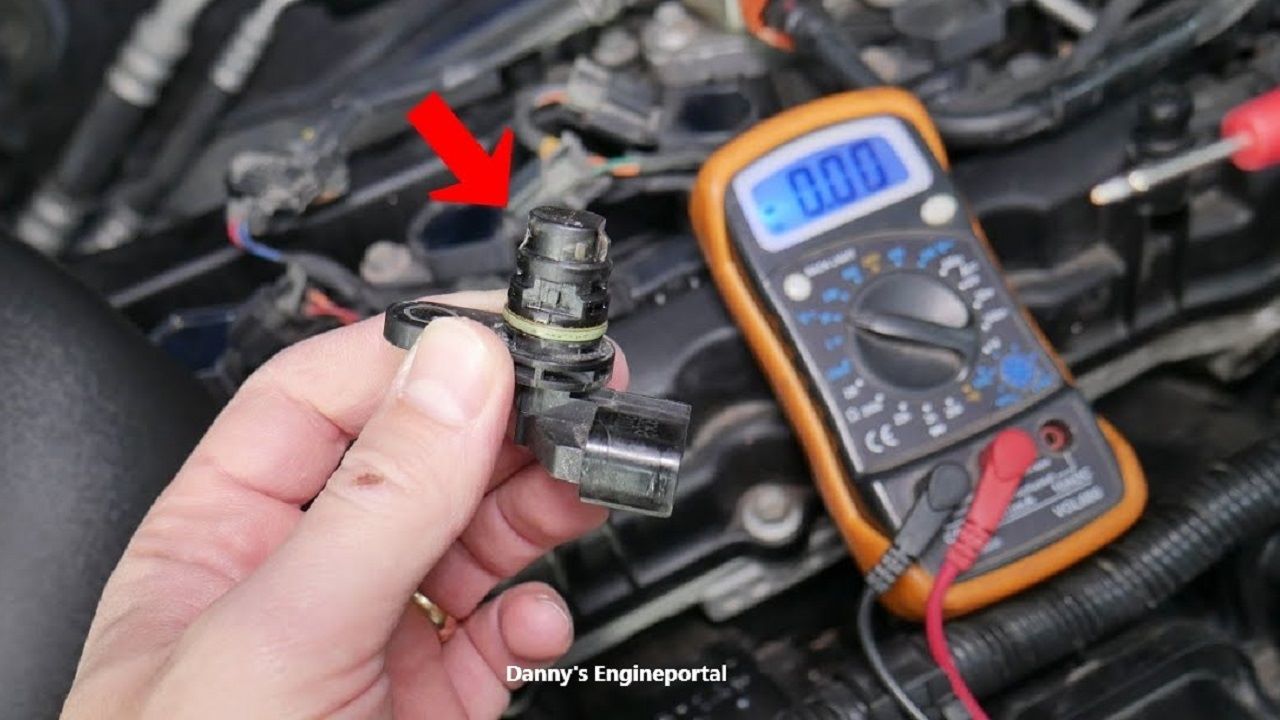
Step 3: Resistance Test (2-wire sensors)
Measure resistance and compare to spec. An open circuit often indicates failure.
Step 4: AC Voltage Test
Crank engine and measure output:
- Working sensor = AC voltage present
- No signal = possible failure or mechanical issue
Step 5: Power And Ground (3-wire sensors)
Verify:
- 5V reference
- Good ground
- Signal switching
Step 6: Scan Tool RPM Check
If RPM stays at 0 while cranking:
→ CKP signal is missing or not reaching ECM
CKP Sensor Vs CMP Sensor
CKP sensor
- Tracks crankshaft rotation
- Controls engine timing base signal
- Critical for starting
CMP sensor
- Tracks camshaft position
- Controls valve timing
- Helps identify cylinder phase
Both signals must agree for correct engine operation.
Can A Bad CKP Sensor Cause A No-Start?
Yes. Without a CKP signal:
- No spark is triggered
- No injector pulse occurs
- ECM cannot calculate timing
The engine may crank but not start.
Can A CKP Sensor Fail Intermittently?
Yes—very commonly.
Typical symptoms:
- Random stalling
- Hot restart problems
- Sudden RPM signal loss
- Intermittent no-start
These failures are often heat-related and difficult to diagnose without live data.
How To Replace A CKP Sensor
- Disconnect battery
- Locate sensor
- Remove connector
- Remove mounting bolts
- Install new sensor
- Reconnect wiring
- Clear codes
- Test drive
Some vehicles require a crankshaft relearn procedure.
Tips For Replacement
- Use quality sensors
- Fix oil leaks first
- Inspect reluctor wheel condition
- Verify connector integrity
- Confirm proper sensor gap
Cheap sensors are a common cause of repeat failures.
Frequently Asked Questions (crankshaft position sensor symptoms)
Can A Car Run With A Bad CKP Sensor?
Only briefly in some cases. Most failures lead to a no-start or stalling condition.
Will It Always Set A Code?
No. Intermittent failures often go undetected initially.
Can Low Voltage Cause CKP Symptoms?
Yes. Weak battery voltage can distort sensor signals.
How Long Does A CKP Sensor Last?
Often 100,000+ miles, depending on heat exposure.
Is Replacement Difficult?
It depends on engine access. Some are easy, others require significant labor.
Final Thoughts (crankshaft position sensor symptoms)
The crankshaft position sensor is essential for engine operation. It provides the ECM with the timing information needed for ignition and fuel control. When it begins to fail, crankshaft position sensor symptoms can range from rough running to complete engine shutdown.
Because wiring issues and mechanical faults can mimic sensor failure, proper diagnosis is critical before replacement. A structured testing approach ensures accurate repair and prevents unnecessary parts replacement.